|
|
|
AI and Your Documents |
|
DEVONthink is focused on document and information management. AI is all about document analysis and generation. These facts make for an excellent cooperative relationship between the two. While AI is implemented in several other aspects of DEVONthink, let's take a quick look at how it works with your documents, including some practical examples. Document Analysis
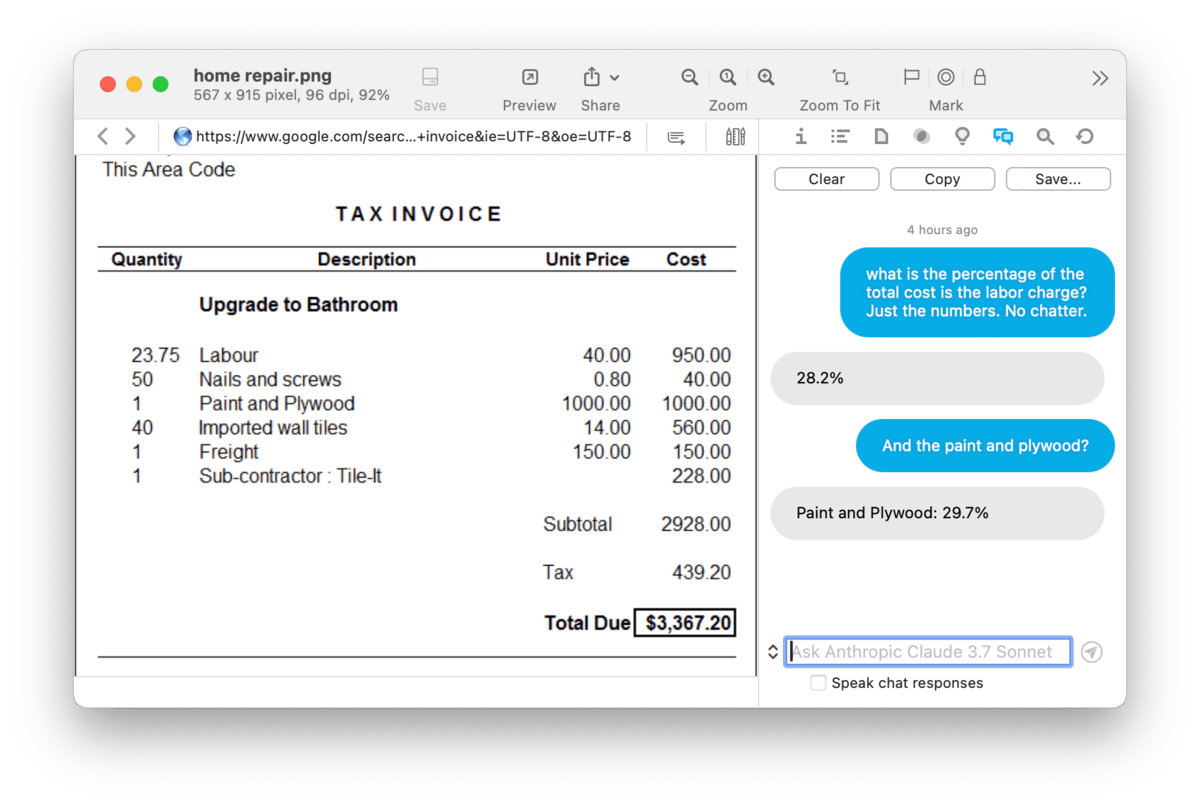
Broadly speaking, if you have a document in your database, you can use AI to analyze it. This could be content in a PDF document or a selection of rich text files. Say you have an invoice and a tools-compatible AI engine, you can ask questions about the contents. For example, you can ask how many widgets were purchased. You can then ask for a breakdown of the cost per widget, their percentage of the total cost, or any other questions for which you need answers. If this was an anticipated order, you could ask for it to provide the cost for different quantities. As you progressively ask questions, the AI will take previous parts of your conversation into consideration when it answers.
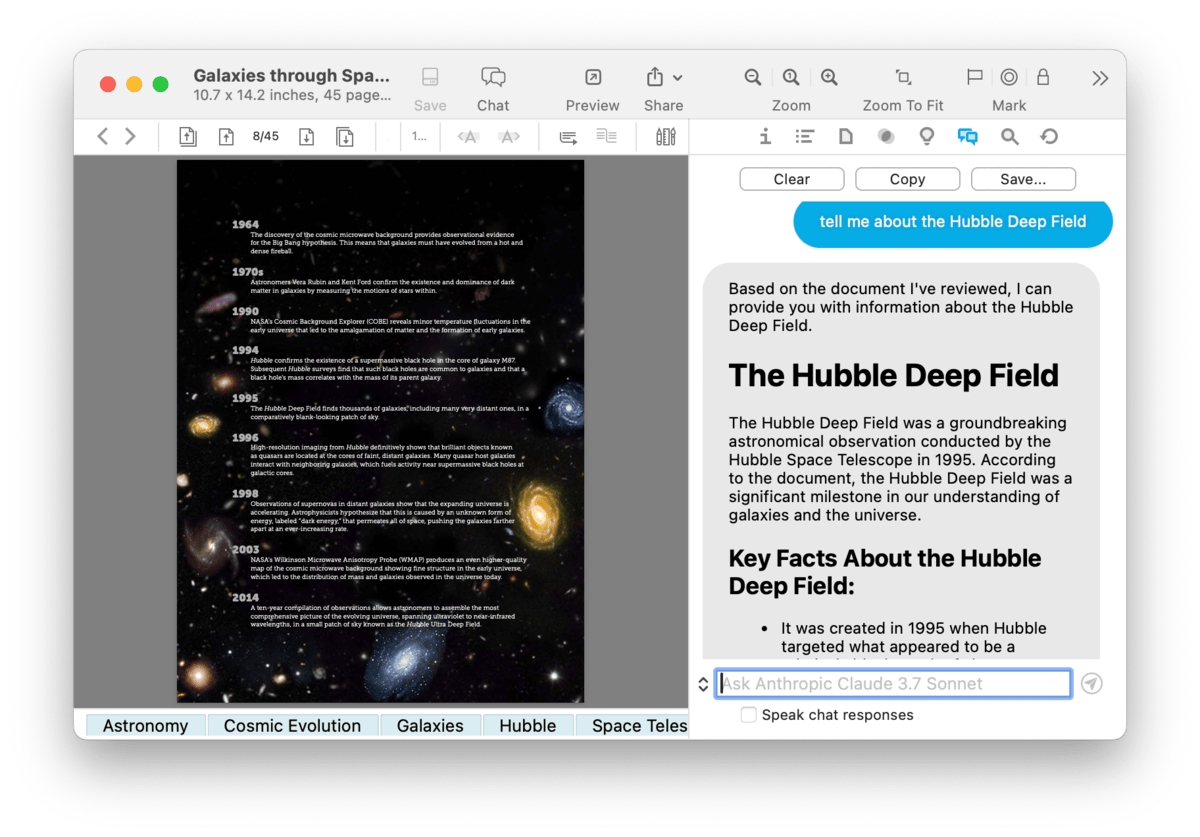
Examining an invoice or receipt focuses very narrowly on its contents, typically requiring no outside information. But when generating responses about other documents, the AI engine may need to refer to other sources. To give you more control over where AI is getting its answer, you'll need to set permissions for what AI can access in the AI > Chat settings. For example, if you want it to use online searches, set it here. Imagine you have a PDF about the Hubble Space Telescope and ask chat, "Translating" jargon or high-level language is another useful function. For example, say you have a PDF from PubMed but much of it is beyond your understanding. Select some text, open the Chat inspector and ask for an explanation in layperson's terms. And while it may not be wise to use this to make important decisions, e.g., medical or legal ones, it could help you understand the essence of the text.
Summarize and Transform Summarize: Summarizing is an excellent way to quickly get the essence, the core concepts, in a document. Using the Summarize Documents via Chat command provides a simple analysis of selected documents, saved directly into a Markdown or rich text document. This also works with multiple selected documents, with the key points broken down by document. Replacement: Logically, if you can edit the contents of a document in DEVONthink, you can also transform the text. This can be used to rewrite content in a different style or tone. Select some text in a document you wrote and open the Summarize and Transform popover via Edit > Transformations > Transform text via chat. If you like the recommendation, you can replace the text with the click of a button. Text Documents There are many options for creating text-based documents with AI. From the Chat popover, you can ask a question and tell it to save the results as a Markdown document. Some AI engines, e.g., Claude, will often produce an appropriate document type on its own. For example, asking for a list of 25 European songbirds, including their common and scientific names, and notes about their migration patterns will likely result in a Markdown document. But you could also tell it to create a sheet, if that better suits your purpose. You may also find use in one of our AI-directed templates. With the Ask Chat template, you enter your question get the response delivered in a document, ready for you to take further notes. Or select an image and use the Story Assistant — Markdown to generate a story outline based on the contents of the image. Built with powerful automation features, DEVONthink can create documents with smart actions and AppleScript commands. Using your documents or queries as a starting point, you can use AI replies to create documents with more personalized and fine-tuned control. Images and Media Files
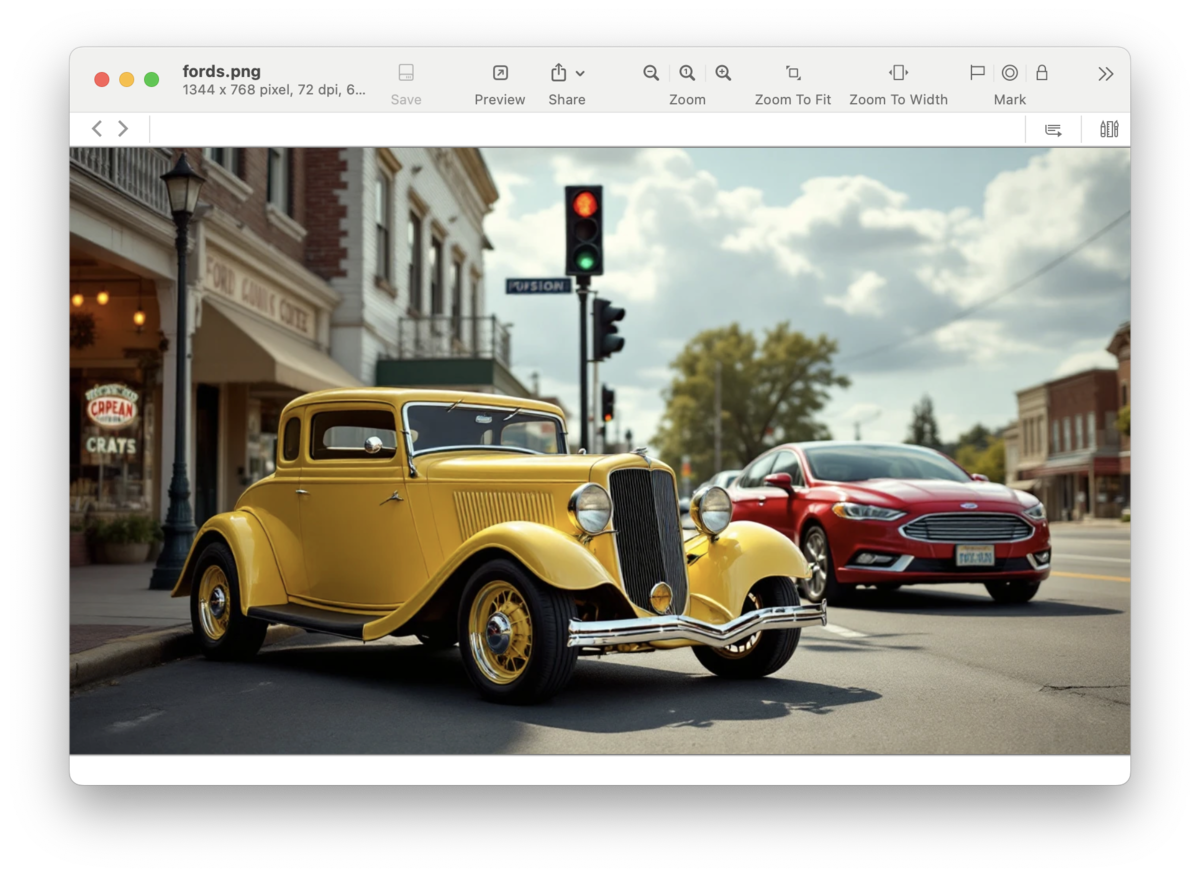
Image Analysis: Images have always been supported in DEVONthink but in more of a supportive role, e.g., as an illustration in rich text, etc. Within DEVONthink, AI has opened new possibilities for them. The Edit > Summarize via chat can analyze and provide a description of an image's contents, e.g., as bullet points or a paragraph. If you have an image of a sign, open the Chat inspector, ask for the text to be translated into another language. To make the results even more useful, tell it to store the translation as a Finder Comment on the image. Image Generation: Open the Generate Image panel. Fill in a description of the image you want, including as many details as you have. Choose the generative image engine you have access to and let the AI create an image for you. Or perhaps you have a document with an outline or a synopsis of a story. Select it and choose the Short Story — Illustration from the Data > New from Template > AI menu. AI will "read" your document and create an image based on it. And if you're a scripter, there is an AppleScript command to create images with AI with more control in using the output, e.g., linking it to a Markdown document.
Image Recognition: Images and media documents can be converted to text via AI transcription. AI can examine an image and extract the text much in the way OCR does, but utilizing machine learning. Using either Apple's Vision framework or a vision-capable AI model, you can extract the text one of these places:
Speech to Text: Another powerful AI recognition function in DEVONthink is speech-to-text capabilities used with audio and video files. Long ago, this technology was a niche (and expensive) process that progressed to providing conversion of short bits of audio directly on your Mac. Now, the technology is capable of fully transcribing long audio and video content, providing a written transcript for you to use as you need. And with Apple's Speech framework, this can even happen on your Mac. If you transcribe to an annotation file, it may also contain timestamps, making it easy to jump to certain points in the playback.
Tagging Lastly, if you often use tags on your documents, AI can provide assistance with it. With the Add Chat suggestions to documents option in the Files > Tags settings, AI can examine files and tag them as they're added to your database. To keep your tags from getting out of control, you can require AI to only use already existing tags. You can also use Apple's Vision framework for tagging images, if you aren't using a vision-capable AI engine. Controlled Transcription
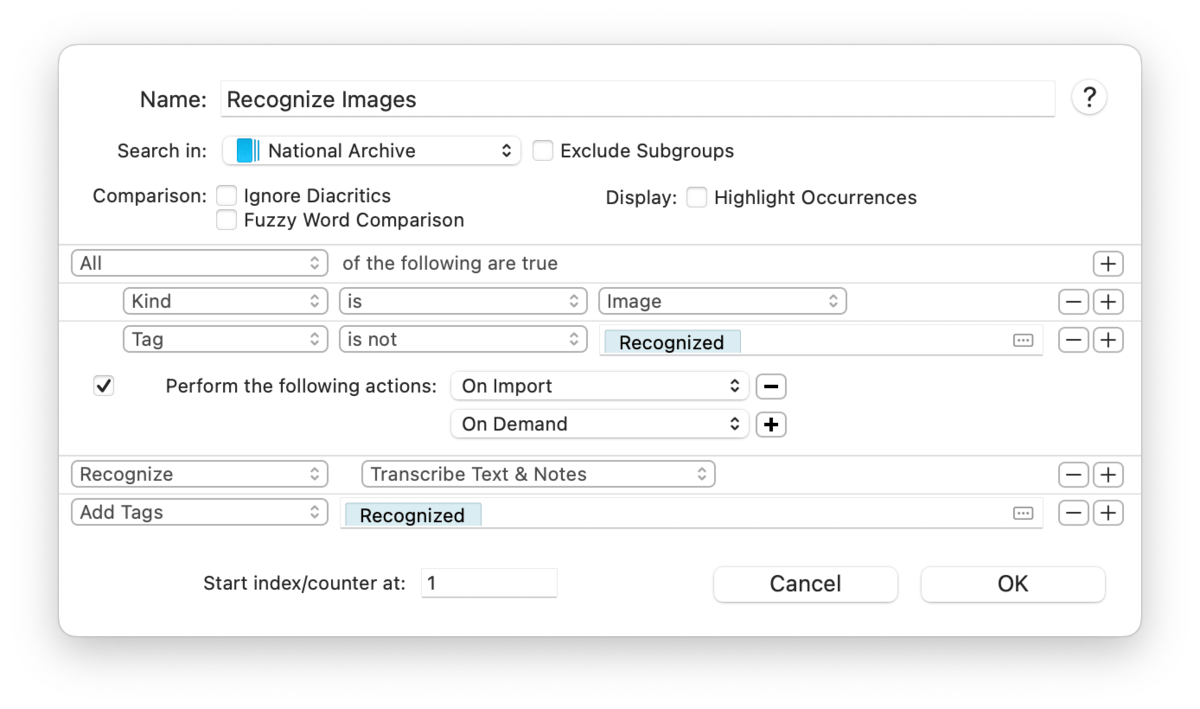
As mentioned above, the option to transcribe text in images may be very useful. However, the option in the Files > Import settings is a global setting, meaning it will attempt to recognize text in every image you add. Not only may that not be necessary, it could incur a cost if you're using a commercial AI engine. However, we can exert a more control with a simple smart rule. 1: Select your desired database or location in the
Navigate sidebar then click the 2: Enter a name and ensure the Search in dropdown is targeting the correct location. 3: Set criteria 4: Click the 5: Choose the 6: Now drag and drop an image into the database. It should be transcribed automatically per the option you chose in the AI > Transcription settings. Lastly, drag and drop an image into another database and you'll see it doesn't trigger the smart rule. You could also add other filtering criteria, e.g., PS: This same logic can also be applied if you want to use AI-assisted tagging on import. Speech-To-Text
On Location: Imagine you're in school listening to a lecture, in a house of worship, attending a seminar, etc. You wish you could record and read what's being said later. Here's a way you could accomplish that assisted by AI. The first two steps are only for setup. Once they're set, you can leave them alone and just start at step 3. 1: Open the AI > Transcription settings. Choose the transcription engine and how you want to store the transcribed text. We'll choose Annotation to create a separate annotation file. 2: Optionally, open the Files > Import settings and enable Transcribe Audio Files. We'll enable it for this example. If you don't enable the option to transcribe on import, you can process the saved audio file later via the Data > Recognition > Transcribe Speech command or the context menu. 3: Open the Sorter's Voice Note view and start recording. 4: When finished, stop the recording. Choose the destination, modify any metadata, e.g., the name or tags, and press ⌘S or the Add button to save the audio to your database. The transcription engine should automatically start processing the audio. 5: Navigate to the destination and check the results, if finished. Note the length of the audio determines how long it takes to process, so be patient. On Demand: If you have a pre-recorded audio file, you can process it even more simply. Assuming steps 1 and 2 are set as needed, drag and drop the audio file into your database. It will be processed in the same way.
We hope this provided a bit of insight, direction, and perhaps inspiration, into how AI can be effectively used with your documents. |