The Sorter is a multi-purpose popup that allows you to quickly add content to your databases, even when DEVONthink isn't the active application. Depending on the option you choose in
Settings > Sorter, it will appear in the menubar at the top of your screen or docked to the left or right side of your screen. When shown as a menu bar icon, you can choose to display it as the word DEVONthink or a space-saving nautilus icon.
The Sorter can be opened manually or you can jump directly to certain views via hotkeys you set in the settings. For example, setting a hotkey for Copy Selection opens the Take Note view with the selected text already added. Once the Sorter is open, you can switch between these views by clicking the icons at the top of the pane. Alternately, hold ⌥⌘ and press 1 through 6 to quickly open a specific view, e.g., pressing 4 opens the Video Note view as it's the fourth view available. Below we cover the different views the Sorter provides for quickly capturing data.
|
Note:
The ⎋ Escape key can be used in all views to quickly close the Sorter.
|
Navigation
The Navigation view provides a convenient list of the databases and groups in DEVONthink.
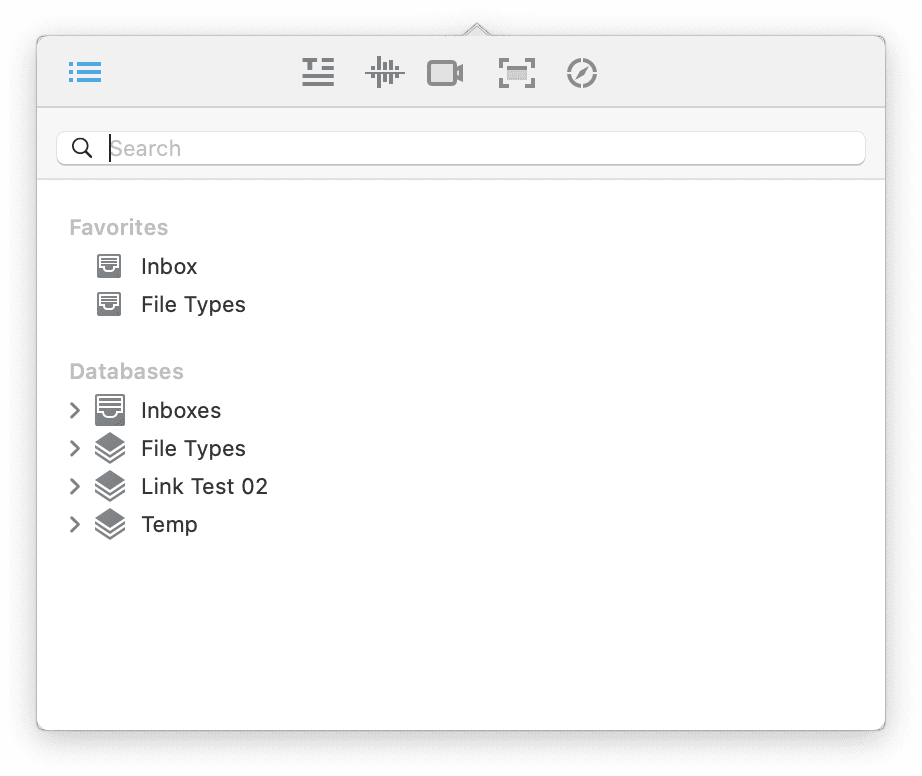
To add files in the Sorter, drag over the docked tab or menu bar item. The Sorter will spring open. then drop items into specific groups to quickly import them. Also equipped with a handy search field, you can search for and isolate groups for more targeted importing. This view is composed of three sections:
-

Search Field: Use the search field to help quickly locate specific groups. This uses substring matching, so you can enter parts of words to find matches. The view updates while you type for efficient searching.
-
Favorites: Provides a convenient list of the groups you've added to the
Favorites section of the global sidebar. Drag items onto your favorites to import them. Control-clicking a group or database gives you the option to Reveal or Open the item. You can also double-click an item to open it in a new window.
-
Databases: Provides a list of open databases and access to their groups. Behaves in the same way items in your Favorites do.
Hotkeys: The Navigation view supports these keyboard navigation with these keys:
-
Tab: Switch the cursor focus between the search field and databases list.
-
Command-Option: Hold these keys when dragging Finder files or folders to index them.
-
Command: Hold this key when dropping an item to move it into the database, putting the original in the system trash.
-
Up/Down Arrows: Navigate up and down through the database listing.
-
Left/Right Arrows: Open and close groups containing subgroups. Hold the ⌥ Option key while pressing the right or left arrow to fully expand or collapse all the subgroups, respectively.
Creating Files
The remaining views are focused on creating documents, whether that's a simple plain text file, a screen capture of an application's window, recorded video, or clipping web content. Every view supports these options:
-
Add: Saves the file in the specified format in the chosen location. You can also press ⌘S to save the current content.
-
Reset: Displayed as a  backward pointing circular arrow, click it to clear the view to its default settings.
-
Info: Add metadata about the file here, including: read status, locked state, flagged state, rating, or color labels.
-
Tags: Enter tags for the file. Tag suggestions will be made from the tags of all open databases.
-
Location: Choose the location to save your file from the dropdown list. The location of the last saved file will be preserved for the next note you create.
And whenever these controls are shown you can move the cursor forward between fields, e.g., between the body and URL, by pressing ⌃⇥. Hold the ⇧ Shift key to cycle backwards through them.
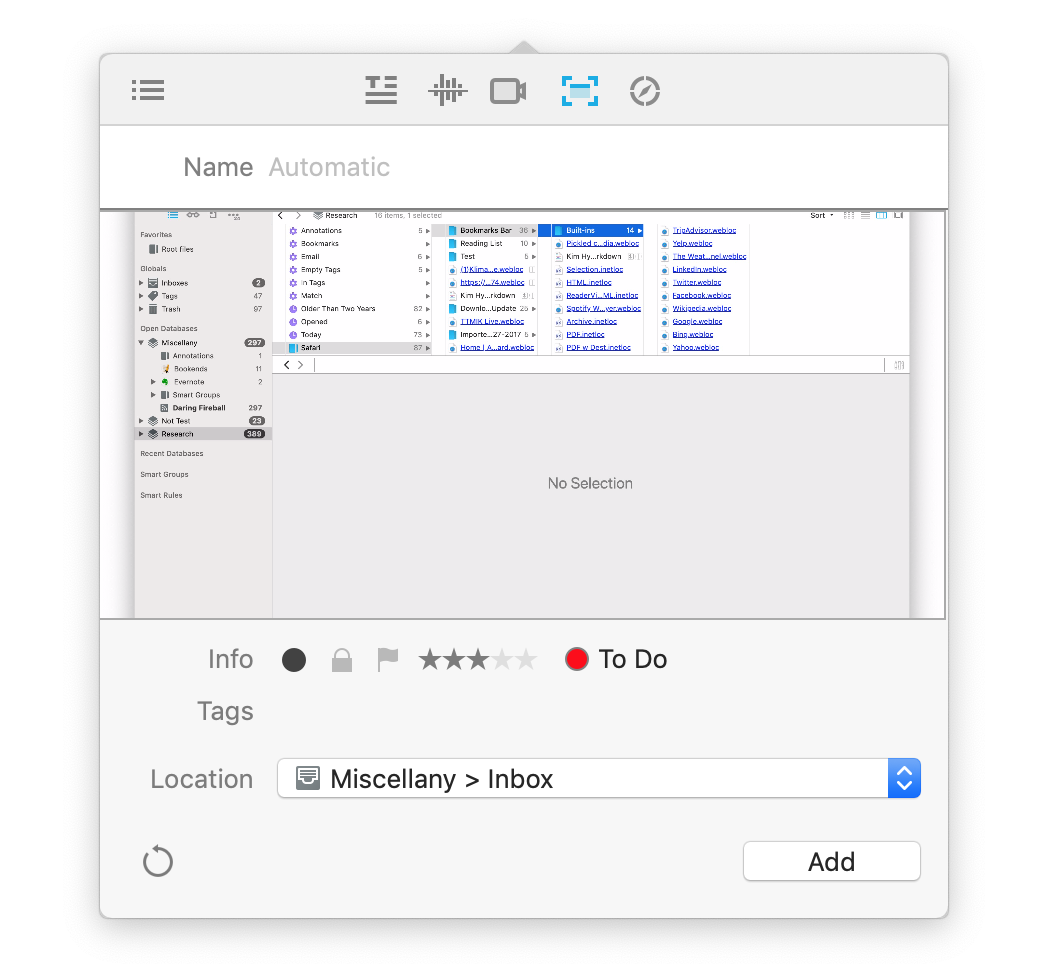
Take Note
The Take Note view is for those times when you just need to quickly write a note but don't want to go back into your databases just to create a new file. And to make your note taking a little faster, define a Take Note hotkey in the the
Sorter settings.
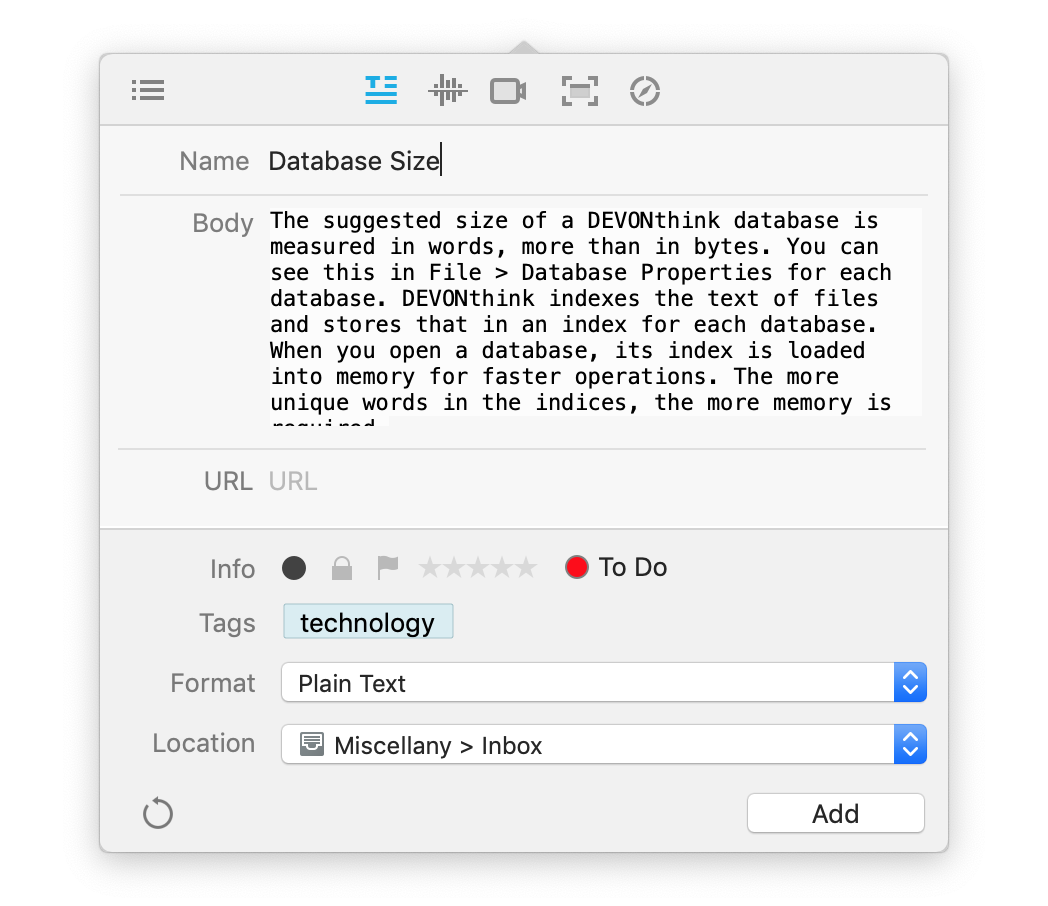
Allowing you to write notes in several formats, the editing behavior depends on the format you've chosen. Also, the appearance of the text depends on the your choices in the
Editing settings. This view supports these specific attributes:
-
Name: The title of your file. If left as Automatic DEVONthink will attempt to create a title from the first sentence of the body.
-
Body: Enter your note text here.
-
URL: If there is a URL you'd like to associate with the file, perhaps a link back to a source, enter it here.
-
Format: Choose the format of the saved note. Choose from: plain text, rich text, formatted note, and Markdown.
If the Sorter is set to None in
Sorter settings, it will appear as a separate floating panel having the same functions described above. However, it has the added feature of hovering over any open windows.
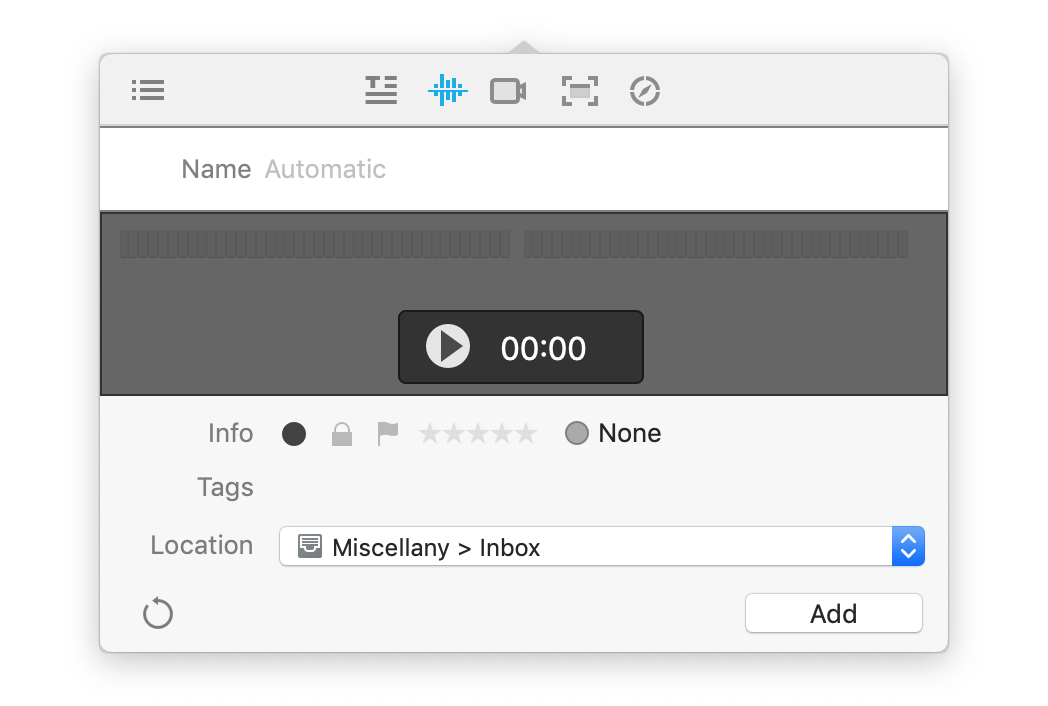
Voice Note
Use this view to record a voice note directly into your database. This creates recording in .m4a format, saved to the location of your choice. With simple controls, it's easy to record impromptu audio.
This view has a few simple sections:
-
Audio Levels and Timer: At the top is a sound meter to help visualize your audio level as you record. The elapsed time is shown as it records, convenient for projects like rehearsing a presentation.
-
Begin/Stop Recording: Press the red circular button to begin recording. Press the black square button to end recording.
When you've stopped recording, you will be shown these view-specific options:
-
Name: Enter a name for the audio file. If no name is provided, a date and timestamped name will be automatically given.
-
Playback and Volume: Playback your audio to ensure it's good before you save it. Press the Reset button to clear the audio and record again.
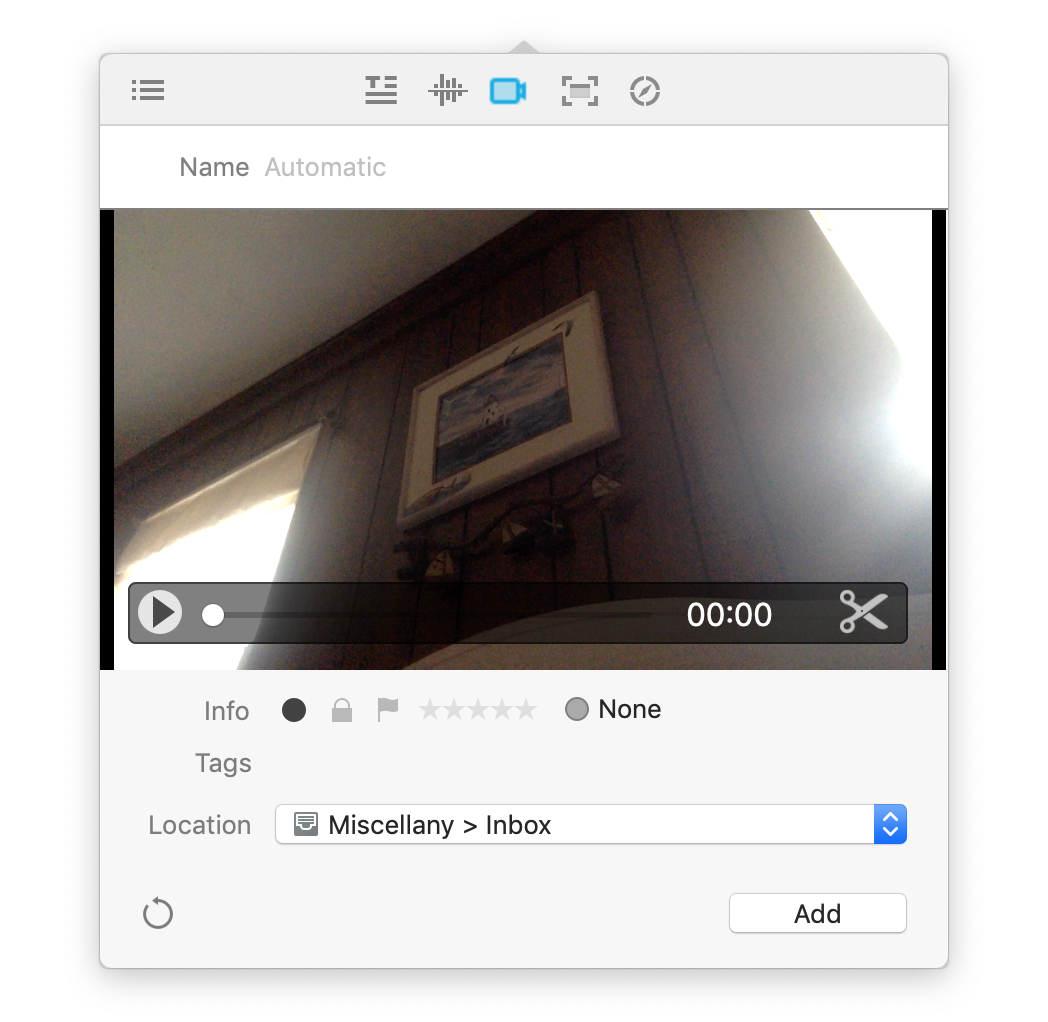
Video Note
Use this view to capture a video from your Mac's built-in camera. Videos are saved as MP4 files for convenient compatibility across platforms and devices.
Like the audio note, this is presented in very simple controls:
-
Begin/Stop Recording: Press the red circular button to begin recording. Press the black square button to end recording.
-
Source: Choose the video and audio source in the small downward facing caret next to the record button. Any attached compatible audio-visual devices should be available here.
When you've stopped recording, you will be these view-specific options:
-
Name: Enter a name for the video file. If no name is provided, a date and timestamped name will be automatically given.
-
Playback and Volume: Playback your video before you save it. Or press the Reset button to clear the video and record again.
-
Trim: Shown as scissors, click this to access simple editing tools. You can drag the ends of the yellow frame to change the start and end of the video. Click and drag inside the frame and a red line will appear. This displays the time above the line.
Screen capture
Screen captures are a common way to quickly gather information about things on our computers. While the Apple provided mechanisms still work, the Screen Capture view allows you to quickly snap a screen shot, add some metadata, e.g., tags or labels, then save it directly into a specific location in your databases. The captures will be saved as JPEG files.
This view has one simple section with three options, also accessible via shortcuts:
-
Screen: Capture your entire screen (⌘1).
-
Window: Capture a specific window (⌘2). Hover over a window and it will be highlighted in blue. Click once to capture it.
-
Selection: Capture a specified area by dragging a bounding box around the desired area (⌘3). To reposition the area, hold the space bar. To stop the capture action, press the ⎋ Escape key.
After making the capture, these view-specific options are shown:
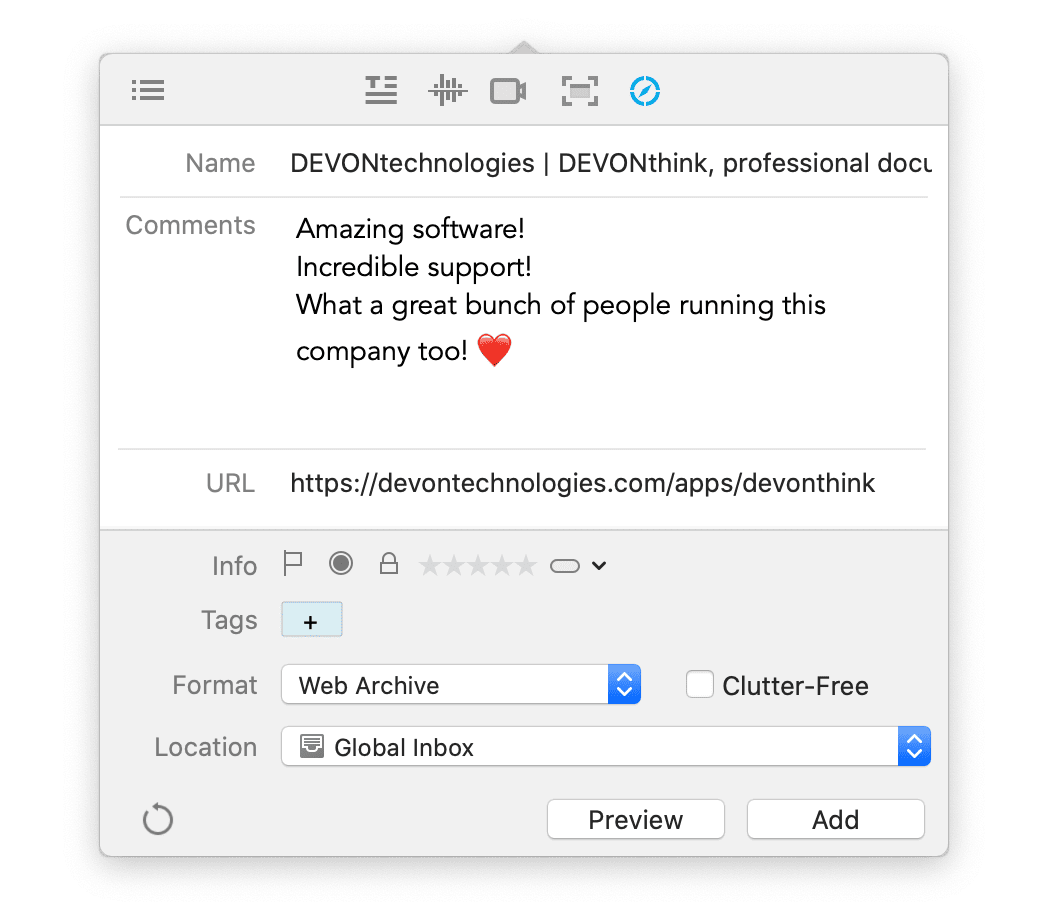
Web Clip
Use the Web Clip view to quickly clip the current web page, a URL from your clipboard, or enter a URL manually. Each option is also accessible via shortcuts.
-
Default Browser: Displaying the icon of your default browser, click this to capture the current page. This shows the same options as the Clip to DEVONthink browser extension. (⌘1)
-
Clipboard URL: If you have copied a URL, click this option to detect and capture it (⌘2).
-
Manual: Click this to manually enter a URL to capture (⌘3).
Before saving the clipping, you will see these view-specific options:
When using the default browser option or the Clip to DEVONthink extension, click the Preview button and DEVONthink will attempt to display a preview of the intended capture. This can be helpful in trying to determine if a capture will be successful.
|