|
|
|
Going Paperless (Other Options) |
|
If you don't have an ICA-compatible scanner, you likely can still get your scans into DEVONthink. And if you already have a collection of images you want to put in your databases, there are options to process those images as well. ScanSnap Scanners A veteran in the scanning industry and considered solid and reliable, ScanSnap scanners are a good choice. They can't be directly controlled by us but with a proper scanning profile in the ScanSnap software, DEVONthink can receive and process those scans. Here's how to properly set up a profile in the ScanSnap Home (SSH) software: 1. Install the software: Download the SSH application from the link above and install it. 2. Set up a scanning profile: In the SSH application, create a scan profile following these proven steps:
3. Load and Scan: Choose your new profile to scan to. Put a document into the scanner and scan it normally. The files will be sent to DEVONthink, either to the Global Inbox or a location you choose, depending on what you've set in Settings > Files > Import > Destination. . Just make sure this is the chosen profile to send scans to your database. PRO
ScanSnap Home also has OCR built-in. If you prefer to use it, click the File format > Option button in your scanning profile and enable Convert to Searchable PDF. Then set DEVONthink's OCR > Convert Incoming Scans settings to No action. Otherwise, use DEVONthink's OCR. You should not enable OCR in both applications. Using an Unsupported Scanner If you have a scanner with only a TWAIN driver, you may still be able to use it with DEVONthink. Open the settings of the scanner's application's and look for a Open With or Send To option that allows you to open or send the finished scan to another application. Set DEVONthink as the receiving application. If you're not running the Pro or Server editions of DEVONthink and the scanning application has OCR capabilities, enable it and set DEVONthink's OCR > Convert Incoming Scans settings to No action. Load a document into the device and scan it as you normally would. The document should be sent to DEVONthink. PRO
If the scanning application isn't OCR-capable, DEVONthink knows the identifiers of many scan applications and will convert the incoming scan to a searchable PDF if possible. If DEVONthink does not recognize your scan application, please create a Zip archive of the application and send it to us so that we can add its identifier to a future release of DEVONthink.
PRO
Importing with OCR If you already have an archive of scanned documents without OCR, you can import them while applying OCR. To import an document while applying OCR, choose File > Import > Image with OCR. Click the Options button to choose the output format and whether to send the original to the system trash after importing. The image will be processed with DEVONthink's OCR engine and be imported to the database in the chosen format. If you have enabled Searchable PDF: Set metadata after text recognition in the OCR settings, DEVONthink will show a metadata entry window when the OCR process is completed (before the file is actually imported to the database). The date of the created document is set to the date of the original file. Thus, for archival purposes, the searchable document is identical to the original one. The modification date is set to the current date and time to reflect the addition of the searchable text layer. If you're importing a PDF, any keywords in the original file are retained and used as tags. PRO
AI Assisted Transcription
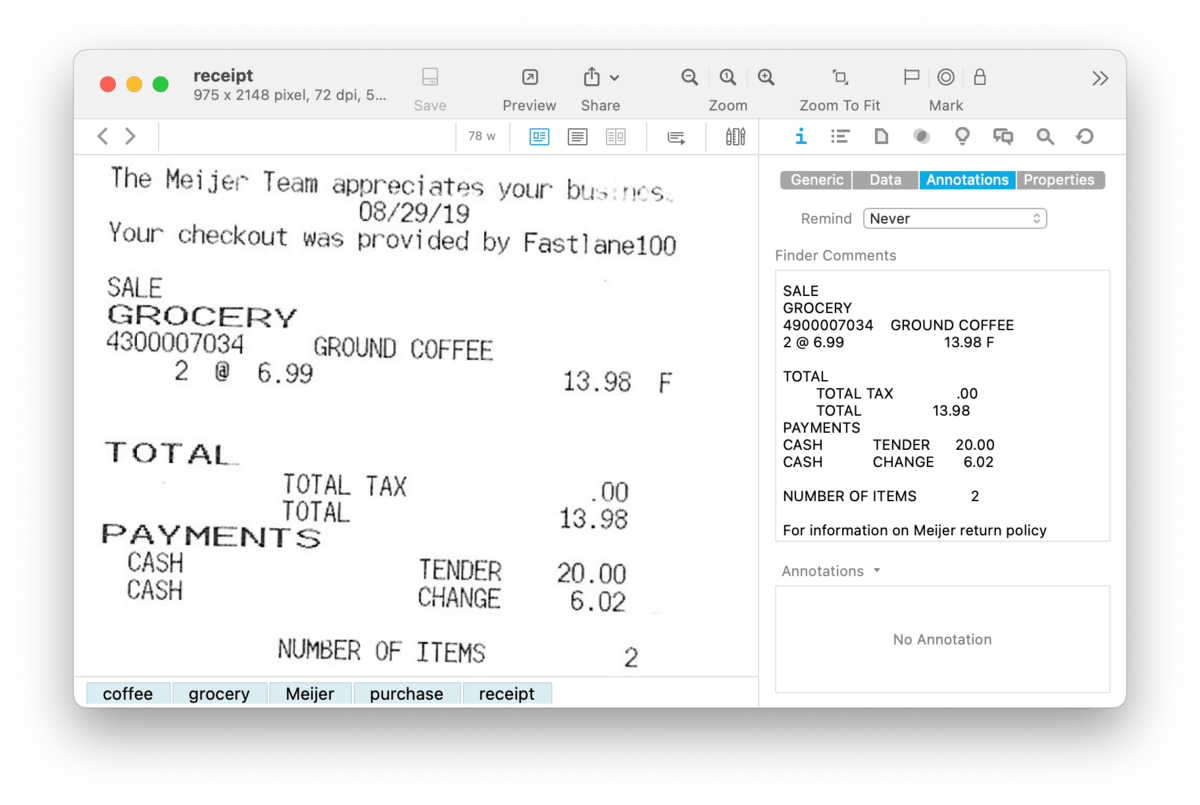
AI provides a power function for processing incoming images: Image Recognition. Using Apple's built-in Vision framework or a vision-capable AI engine, images can be examined and converted into text. That text can be stored in the database's index, as an annotation file, or a Finder Comment on the document. While not a replacement for OCR, the recognized text is immediately for various purposes. Transcribing images can be done manually via the Recognize > Transcribe Text & Notes command in the Data and context menus. If you'd like to have this happen on every image you import, enable Transcribe Text & Notes in images in the Files > Import settings. If you'd like to exert more control over transcribing images, don't enable the setting and instead implement a smart rule targeting a specific database or group and using the |