|
|
Sorter |
|
The
Sorter is a multi-purpose utility built into DEVONthink providing options for adding files and creating various types of notes. When enabled in Settings > Sorter, it is found in the menubar at the top of your screen — displayed as DEVONthink or the
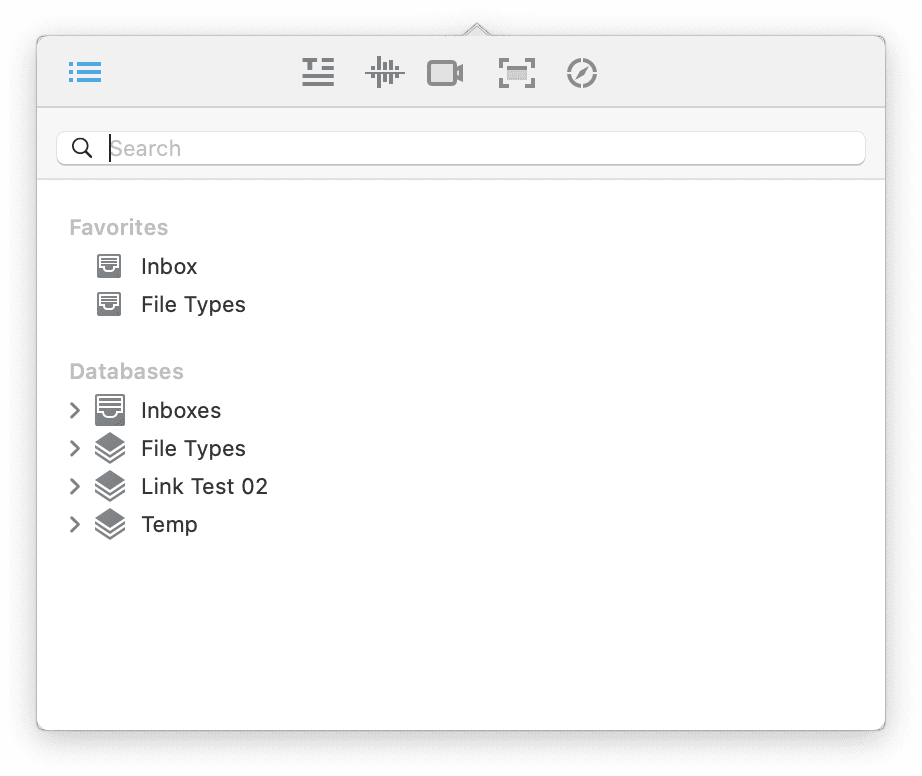
Navigation: The first view of the Sorter is the Navigation view. If you are in another application and want to quickly add a document to your database, this is the view you will use. When it opens you will see databases and groups you can drag and drop to. If you have a group you frequently use, add it to the Favorites section of the
Navigate sidebar and it will also appear in the Sorter. If you have a particular group in mind, you can use the search field to quickly locate it. Start typing part of the name and matches will appear as you type but bear in mind this doesn't support wildcards, like Common Note Controls In the note-taking views, you'll find a set of controls in every pane: Name, Info containing property metadata like ratings, label, etc., and Tags. There are also familiar buttons you'll see: Add and the Reset button to clear the pane and start afresh. You can press ⌘S to add a document or the ⎋ Escape key to reset the pane. One item to note is the Location dropdown, i.e., choosing where to save the document. If you want to create a new group, it's the first option in the dropdown. If you want to change the database, choose it first, then open the dropdown again and choose New Group. And the last used location is remembered, so you can quickly create notes in the same location. Note Creation Take Note: If you ever just needed to jot down a thought, you likely have gone in search of some utility to help with that. And while there are some apps built just for that purpose, they don't directly integrate with DEVONthink. You can quickly open the Sorter and switch to this view or use a hotkey you specified as mentioned above. A quick tap of the hotkey and you can compose a note in plain or rich text, formatted note, or Markdown. It supports formatting for the specific types, e.g., bold, italic, Markdown headings, etc. If you're not finished with your note, the content is saved for later, even across application relaunches. Set tags, ratings, labels, etc., as needed. When you're finished, save it directly into your database. The Take Note view also responds to the Copy Selection hotkey, allowing you to clip selected text. Voice Note: If typing isn't an option, the Sorter can also record audio. Open the view, press the record button, and make your note. After you stop recording, you can play it back then add it or reset the pane and record again. When done, add your metadata, if needed, and add it to your database. Video Note: Using your Mac's built-in camera or webcam, you record video notes in the Sorter. Open to the Video Notes view and the camera turns on, showing you a live preview. Click the record button and create a video to be saved directly into your database. When you're done recording, you can play back the video before saving it. Scrub through the video with the slider to move quickly to certain parts. You can trim the video by pressing the scissor icon then dragging the end points then press the Trim key. You can re-trim the file until you save it. When you're satisfied with the result, enter any metadata, if it's needed, and add it in your chosen location. Screen Capture: Similar to note taking, many people have a screen capture app, even if it's just the built-in commands from Apple. As a convenience, DEVONthink has this function built-in for quick and simple captures directly into your database. Open the view and click your option: Screen, Window, or Selection. While using the windowed or selection modes, you can still switch applications via macOS' ⌃⇥ or Mission Control spaces, if the need arises. After the clip, you can change the name and metadata and add the image, or reset the pane and do another screen capture. On a side note, there is a small suite of markup tools for images so you can add some emphasis to the screen captures after the fact. Web Clip: The Web Clip is for clipping content from browser, acting as the interface to our Clip To DEVONthink browser extension. In these scenarios, the Web Clip view opens, pre-populated with the page title and URL.
And just as you've read about the other views, reset the pane or add the document to your database. |