The Import sidebar pane gives you access to two common sources of external data: scanning and email. Each section in this sidebar provides controls to import from any supported scanner or a compatible email client, e.g., Apple Mail or Outlook. This makes DEVONthink a reliable companion at home, in an office, in the hands of an archivist, and many other scenarios. We will cover the scanning controls in this section. We have also provided a more practical overview in the Going Paperless in DEVONthink section.
Scanning documents is an important function in many situations. The Image Capture section of this sidebar provides a variety of scanning controls to help you create a searchable, paperless archive of your documents.
Scanning Controls
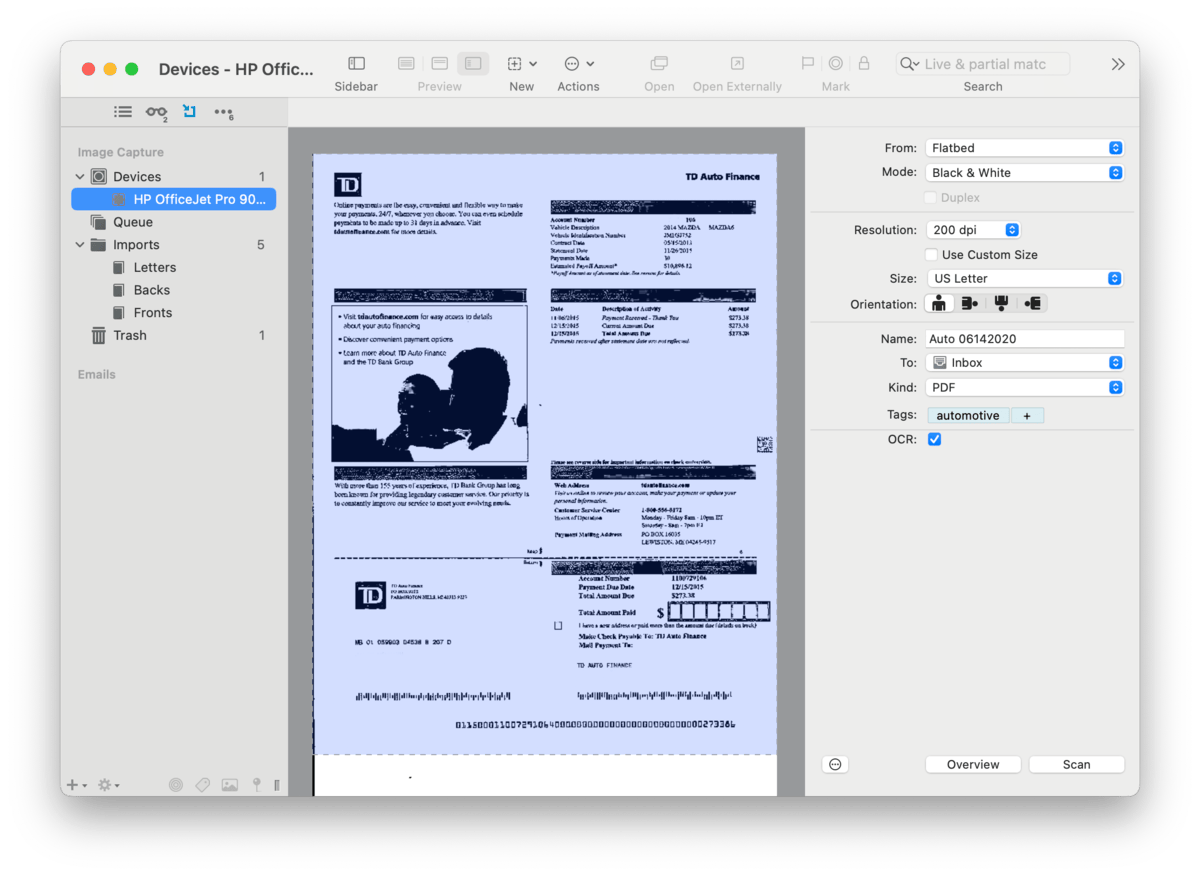
The Devices section allows you to choose and control a non-ScanSnap, Image Capture-compatible (ICA) scanner.
Selected Scanner: If you select a scanner you will be presented with controls and settings to scan your documents. This allows you to use your scanner directly in DEVONthink very efficiently. This interface should be familiar to anyone using Apple's Image Capture application or scanning in Preview.
-

Overview: The overview of what's being scanned. When using a Custom Size you will define the scan area in this pane.
-
From: Choose where you'll be inserting the paper into the scanner, Flatbed or Document Feeder.
-
Mode: Choose the color type: Black & White, Grayscale, or Color. For text only documents, black and white is a good choice.
-
Duplex: Enable double-sided scanning, if available on the scanners.
-
Resolution: Set the desired resolution of the scan. 200 dpi is sufficient for most cases.
-
Size: Choose a pre-defined page size e.g., A4, or check Custom Size and manually resize the scan area in the overview. It is possible to drag multiple scan areas on the same scan. You can also enter specific measurements. Note switching to a pre-defined size will clear any custom scan areas.
-
Orientation: Change the orientation of the final document, portrait or landscape.
-
Name: Enter a name for the final document. If left empty, a date stamp will be used as an automatic name.
-
To: Choose where to send the document: Imports,create a new binder or use an existing one, or a group in a specific database.
-
Destination: The chosen location in a database will be shown here. You can also choose a location to send binders to when saving.
-
Kind: Choose the format for the final document, e.g., PDF or TIFF. Multi-page scans must use PDF.
-
Tags: Enter optional tags to be applied to the document.
-
OCR: Enable OCR for the scan, if desired.
Queue
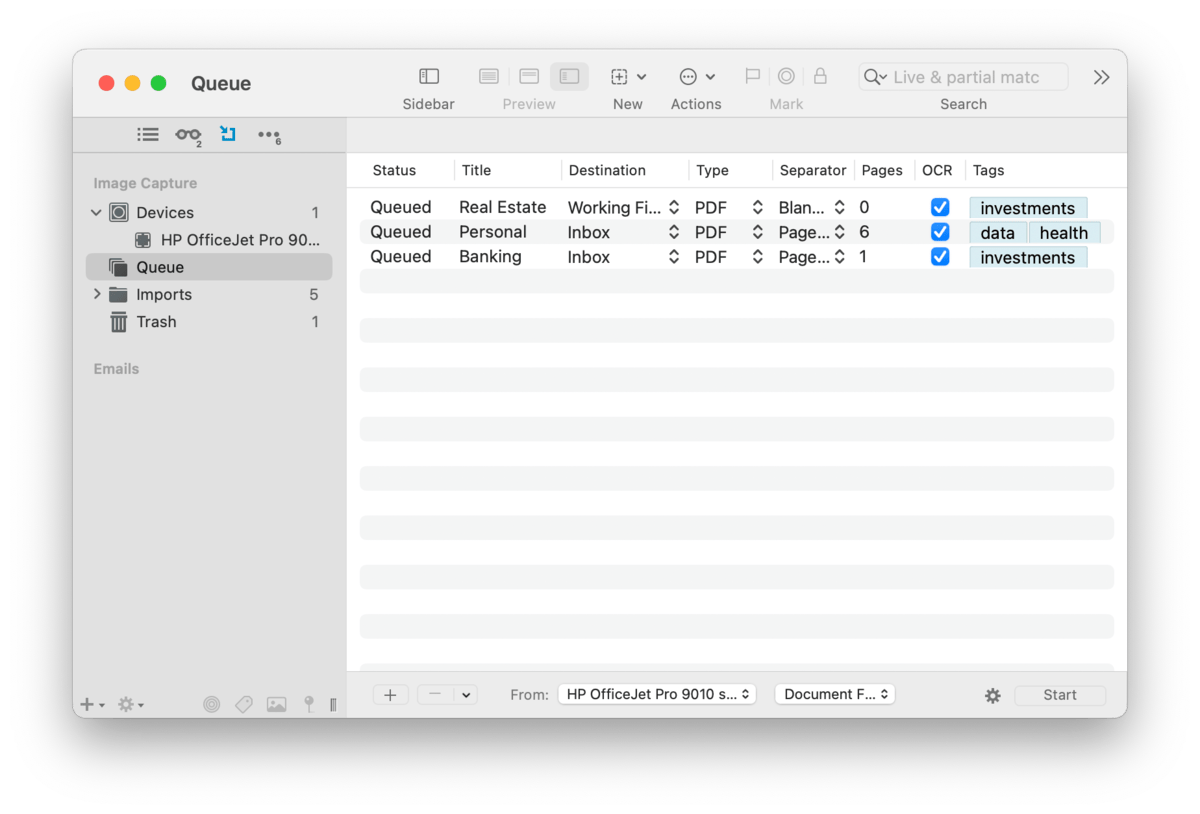
Select the Queue option to display the scanning queue where you can pre-define documents to scan. Define parameters for each document, including: Title, Destination, Type (PDF or Image), Separator, whether OCR is enabled, and optional Tags for the finished document. This section can be very useful when batch scanning. The following controls are shown in this view:
-
Scanner: Choose an available scanner.
-
Flatbed/Document Feeder: Choose where you'll be inserting the paper into the scanner.
-
Job List: Scan jobs and their parameters are listed here.
-
Add/Delete: Add or delete scan jobs.
-
Remove Sent/All: Remove already processed or all scan jobs from the list.
-
Configure: Set the global options for the color type, resolution, page size, and duplex scanning.
Imports
This section contains individual scans or binders, collections of scanned pages. Process existing scans, create new binders, or modify existing binders.
Select a specific binder in the sidebar to show a thumbnail view of the pages it contains. Rearrange the pages by drag-and-drop or drag pages from one document to another. Press the  button to use these options: button to use these options:
-
Reverse Order: Reorder all pages from last to first.
-
Shuffle Odd/Even Pages: Automatically switch odd and even pages
-
Sort and Merge Documents: Choose two documents to merge their contents. One document is chosen as the starting odd page, the other as the starting even page. The pages are then interleaved into the current document.
Trash
Any scans or documents you've deleted from the scanning interface will appear here. When you have this selected, empty the trash with the button at the lower right corner of the window.
|