|
A local sync store is a specialized folder containing sync data on your local machine or connected drives and servers. This is a very fast, reliable sync, and very private method for Mac-to-Mac syncing. You can use one sync store to sync multiple databases or create more than one, e.g., one for a particular group of databases.
Technical Considerations
There are very few technical limitations to local sync stores. To be used with multiple Macs, they are ideally located on a file server or networked volume. It's even possible to create a sync store on an external drive that gets ejected and connected to other Macs, back and forth. For example, if you have a computer at home and the office or a vacation home, this would be an incredibly private way to shuttle databases changes between locations.
Setup
Setting up and using a local sync store is a simple thing to accomplish. It is created on one Mac then accessed and added on others. On the first Mac…
Setup a new Local Sync Store:
-

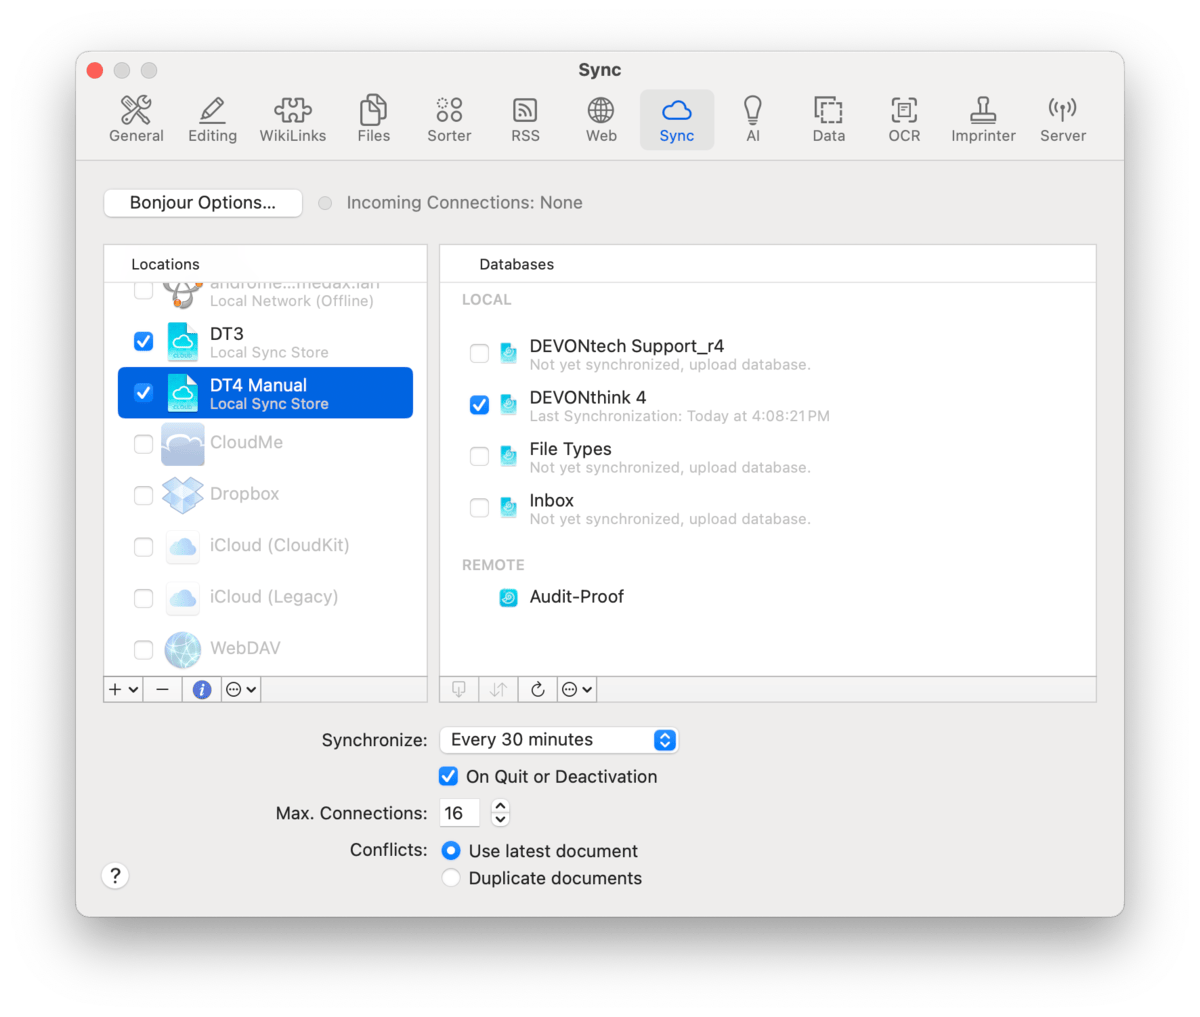
Step 1: Open Settings > Sync and enable the Local Sync Store option. If you already have one created, click the + button and choose Add Local Sync Store.
-
Step 2: In the sheet that appears, navigate to the location you want to save the sync store. Enter the Sync Store Name, an optional encryption key, if desired, and set any options you need. Then press Add.
-
Step 3: When the location is created, select it and enable the databases you want to sync in the Databases list on the right.
On a second Mac, you have to access the location of the sync store. You will not be creating a new one; you will be adding an existing one.
Setup an existing Local Sync Store:
-
Step 1: Locate the local sync store (.dtCloud) file in the Finder.
-
Step 2: Double-click the sync store or drag and drop it into the Locations pane in the
Sync preferences.
-
Step 3: If an encryption key was used when the sync store was created, select the it in the Locations list and press the Info button. Enter the appropriate encryption key in both fields, then click away to dismiss the popup.
-
Step 4: Select the sync location. In the Databases list on the right, you will see databases that are open on both devices, e.g., ones you copied over manually. In the Remote section, you will see databases that either aren't open or haven't been imported.
-
Step 5: Enable any Local databases you want to sync. If you need to import a remote database, Control-click it in the Remote section and choose the appropriate import option, ideally saving to the ~/Databases directory. Repeat this step as needed.
|