|
Dropbox was the first supported cloud service and over time, has been a reliable performer for many of our customers. While there are a few technical details you need to be aware of, it's easy enough to set up and sync.
Technical Considerations
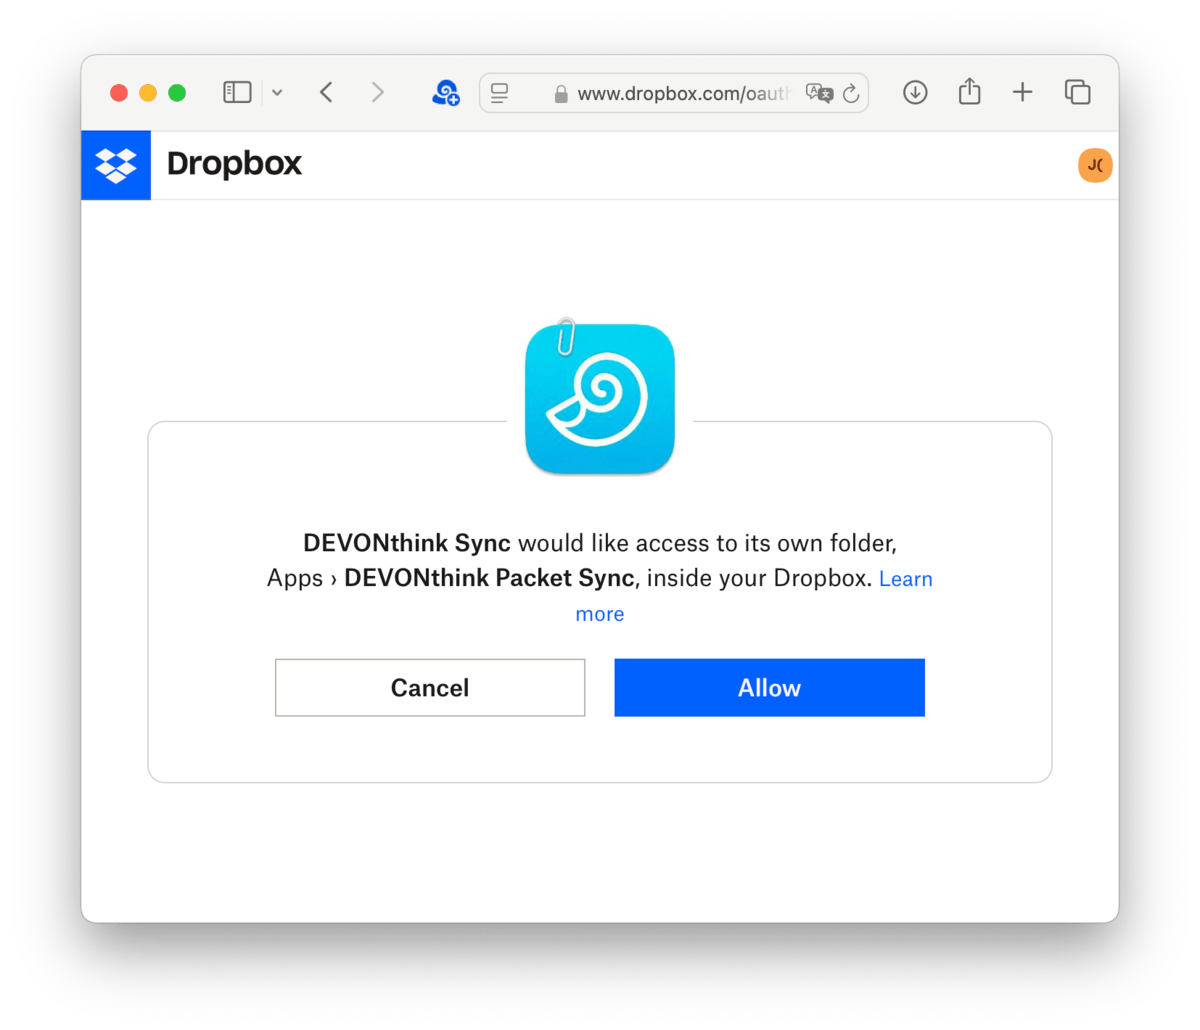
Authentication: Since the Dropbox sync connects and syncs directly with the Dropbox servers, you are required to authenticate the connection. When you first enable a Dropbox sync location in DEVONthink your default web browser will open asking if DEVONthink can access the DEVONthink Packet Sync folder. This will need to be done on other devices the first time you set up a Dropbox sync location. Once the authentication is allowed, you subsequently can add and remove other Dropbox sync locations in DEVONthink.
API Restrictions: There are a few things Dropbox' API doesn't allow DEVONthink to do:
-

You can't sync between Dropbox accounts, e.g., between yours and a colleague's account.
-
You can't connect DEVONthink to more than one Dropbox account at a time.
-
You can't share the contents of the Apps folder in your Dropbox account, where DEVONthink stores your sync data.
Exclude Local Sync Data: Also, DEVONthink works directly with Dropbox' servers. It does not sync to the local Dropbox folders on your Mac. In fact, you don't even need the Dropbox application installed to sync DEVONthink with it.
In order to not waste bandwidth and disk space, you need to explicitly change a setting in the Dropbox application's settings.
-
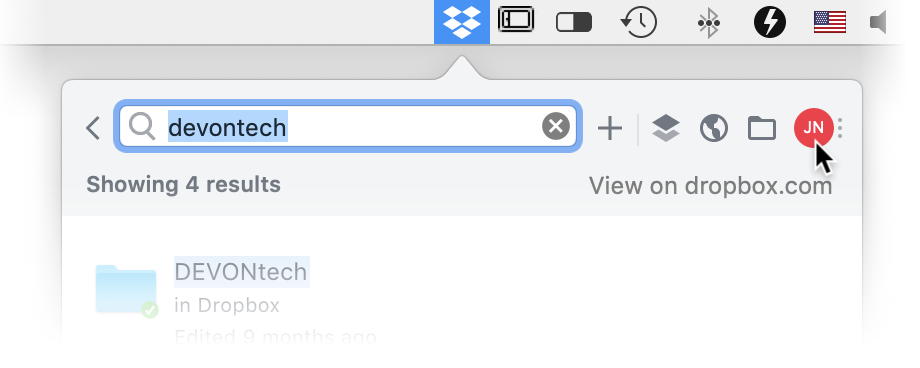
Step 1: Click the Dropbox icon in the menubar at the top of your screen, then click the account icon and choose Preferences.
-
Step 2: Select the Sync tab and click the Choose folders to sync button.
-
Step 3: Select the Apps folder, and uncheck the DEVONthink Packet Sync folder.
-
Step 4: Click the Update button and okay the removal of the local data.
Setup
Setting up and using a Dropbox sync is simple but requires specifying or choosing a sync store in the setup. On the first Mac…
Setup a new Dropbox sync:
-
Step 1: Open Settings > Sync and enable the Dropbox option. As noted above, you will be required to authenticate access the first time you set up a Dropbox sync.
-
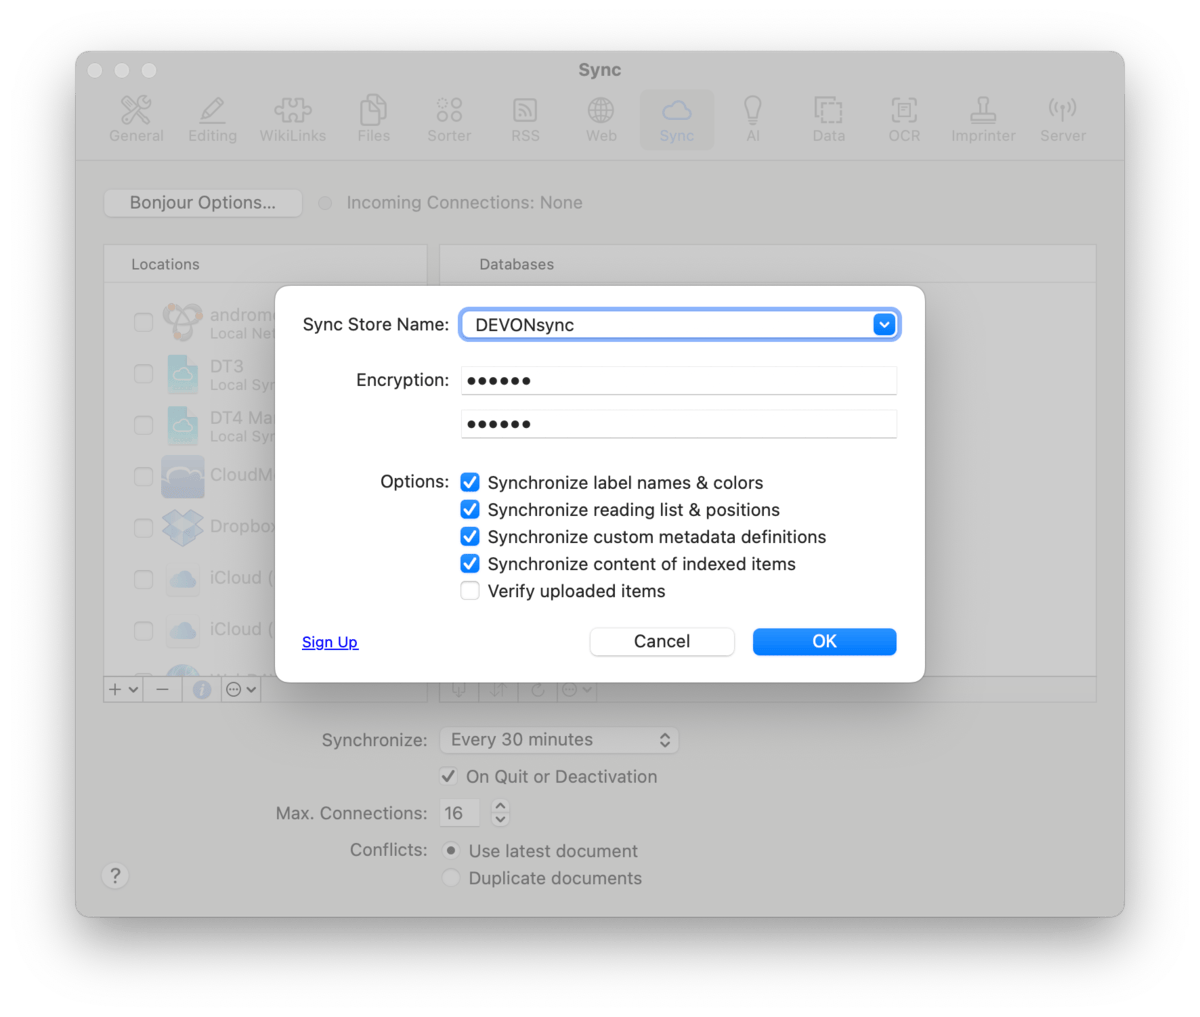
Step 2: In the sync setup sheet, enter the Sync Store Name, an optional encryption key, and set any options you need. Then press OK.
-
Step 3: When the location is created, select it and enable the databases you want to sync in the Databases list on the right.
On a second Mac, the setup is almost the same and you will need to authenticate access to Dropbox once. Make sure you are logged into the same Dropbox account. Remember: you will be adding an existing sync location, not creating a new one.
Setup an existing Dropbox sync:
-
-
Step 2: In the sync setup sheet, click the Sync Store Name dropdown and choose the existing sync store. If you used an encryption key when you set it up, enter it in both fields, otherwise leave them empty. Set any options you need then press OK.
-
Step 3: Select the sync location. In the Databases list on the right, you will see databases that are open on both devices, e.g., ones you copied over manually. In the Remote section, you will see databases that either aren't open or haven't been imported.
-
Step 4: Enable any Local databases you want to sync. If you need to import a remote database, Control-click it in the Remote section and choose the appropriate import option, ideally saving to the ~/Databases directory. Repeat this step as needed.
|